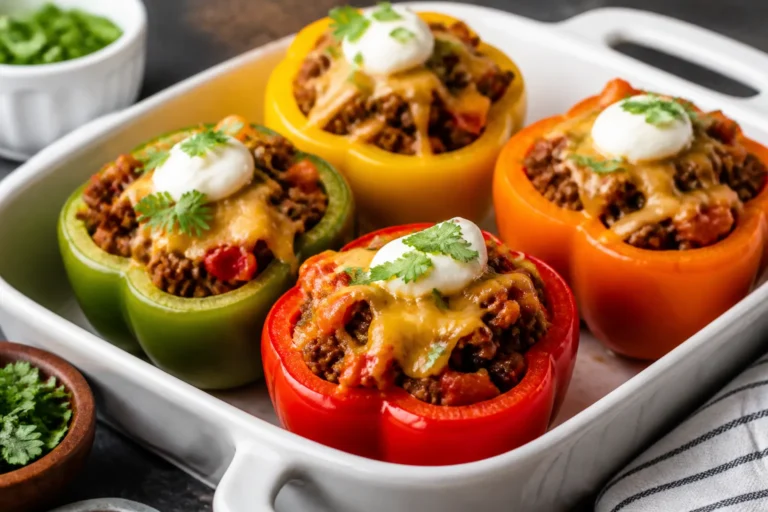
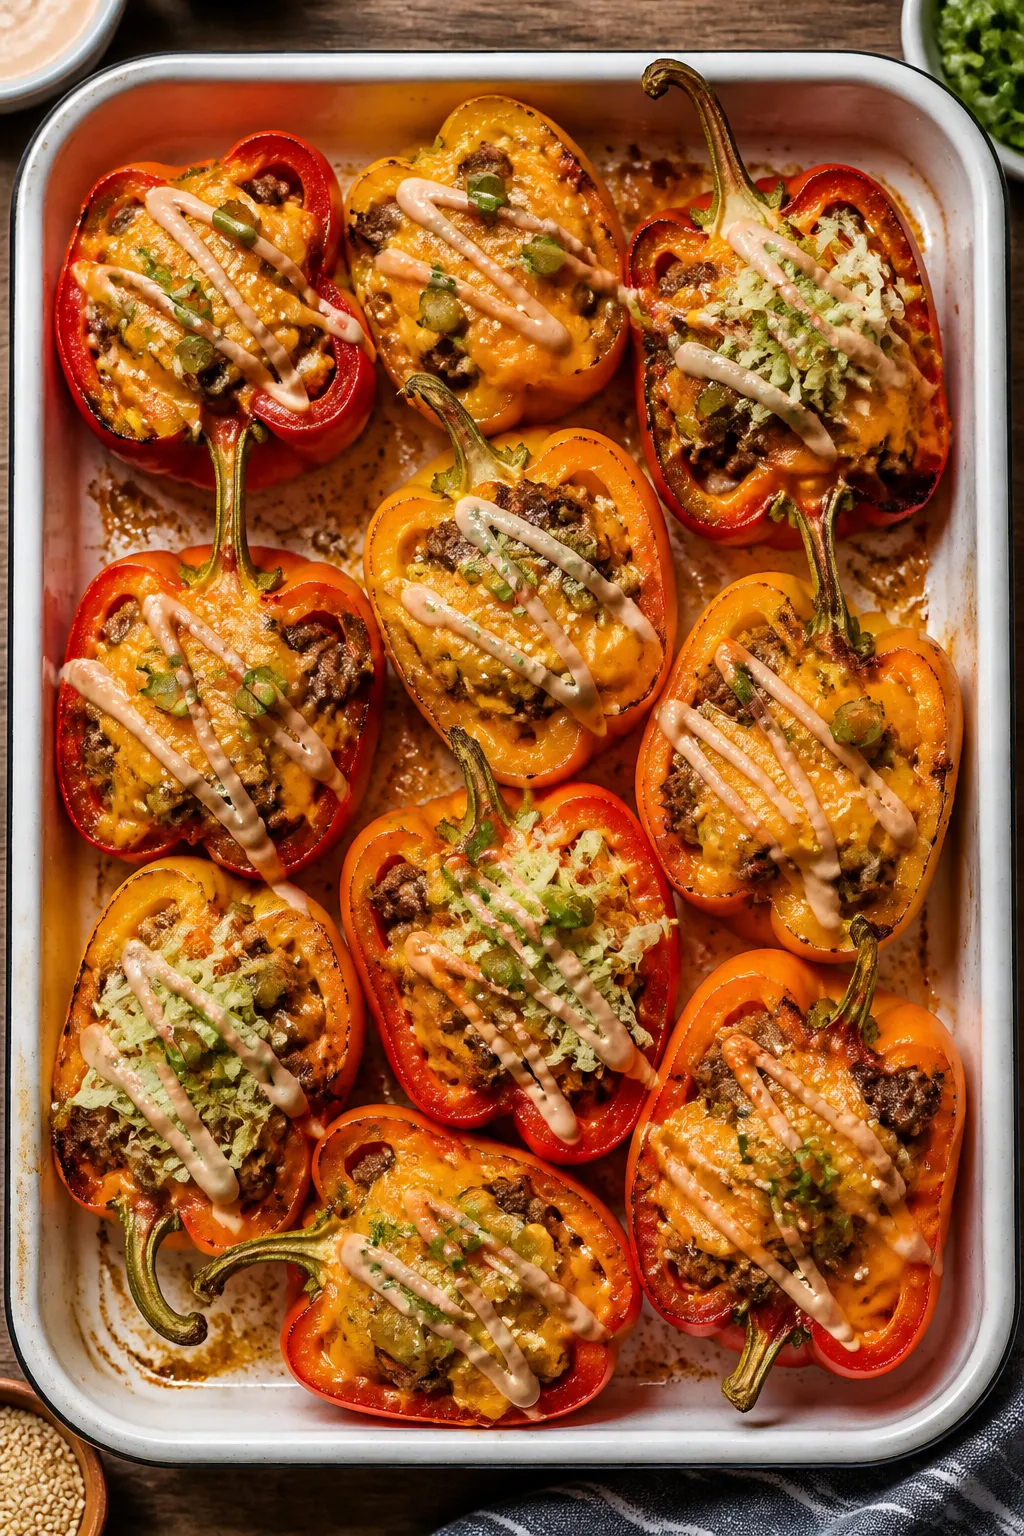
Healthy Cheeseburger Stuffed Peppers – A Lighter Take on a Classic Favorite
If you love the taste of a juicy cheeseburger but want something lighter and more balanced, these Healthy Cheeseburger Stuffed Peppers are a win. They deliver all the savory, cheesy satisfaction you crave without the heavy bun or greasy aftermath. The filling is hearty, the peppers are tender, and the whole dish comes together with simple, everyday ingredients.
FREE 7-Day Easy Dinner Reset
FREE 7-Day Easy Dinner Reset
It’s weeknight-friendly, kid-approved, and easy to customize to your taste.
Healthy Cheeseburger Stuffed Peppers - A Lighter Take on a Classic Favorite
Ingredients
Method
- Prep the peppers. Heat the oven to 400°F (200°C). Slice peppers in half lengthwise, remove seeds and membranes, and place cut-side up in a baking dish. Brush with olive oil and sprinkle with a pinch of salt.
- Pre-bake the peppers. Pour a splash of water (about ¼ cup) into the baking dish, cover tightly with foil, and bake for 12–15 minutes to soften.This helps them cook through without getting soggy.
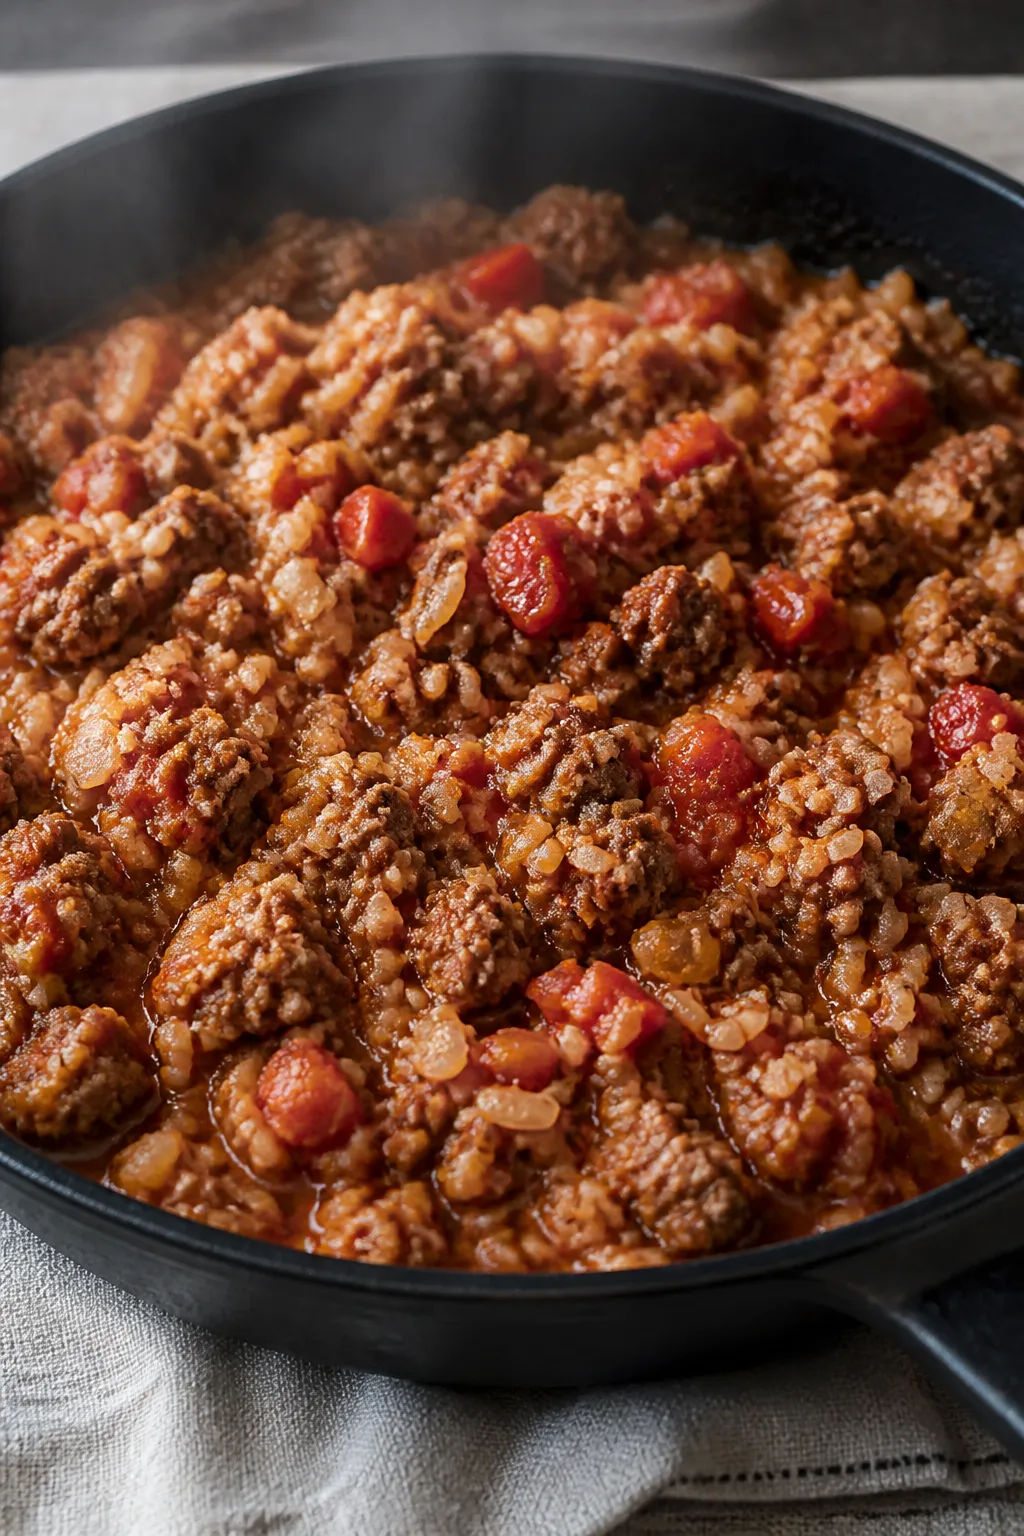
- Brown the meat. While peppers bake, warm a large skillet over medium heat. Add the ground beef, breaking it up as it cooks. Season with salt, pepper, and smoked paprika.Cook until browned and no longer pink, about 6–8 minutes. Drain excess fat if needed.
- Sauté aromatics. Push beef to one side and add onion to the skillet. Cook 3–4 minutes until softened.Stir in garlic and cook 30 seconds until fragrant.
- Build the “cheeseburger” filling. Add diced tomatoes, Worcestershire sauce, and cooked brown rice or cauliflower rice. Stir and simmer for 2–3 minutes so flavors come together. Taste and adjust salt and pepper.
- Make the light special sauce. In a small bowl, mix Greek yogurt, ketchup, mustard, and chopped pickles.Add a pinch of pepper. This gives you that burger-joint vibe without heavy mayo.
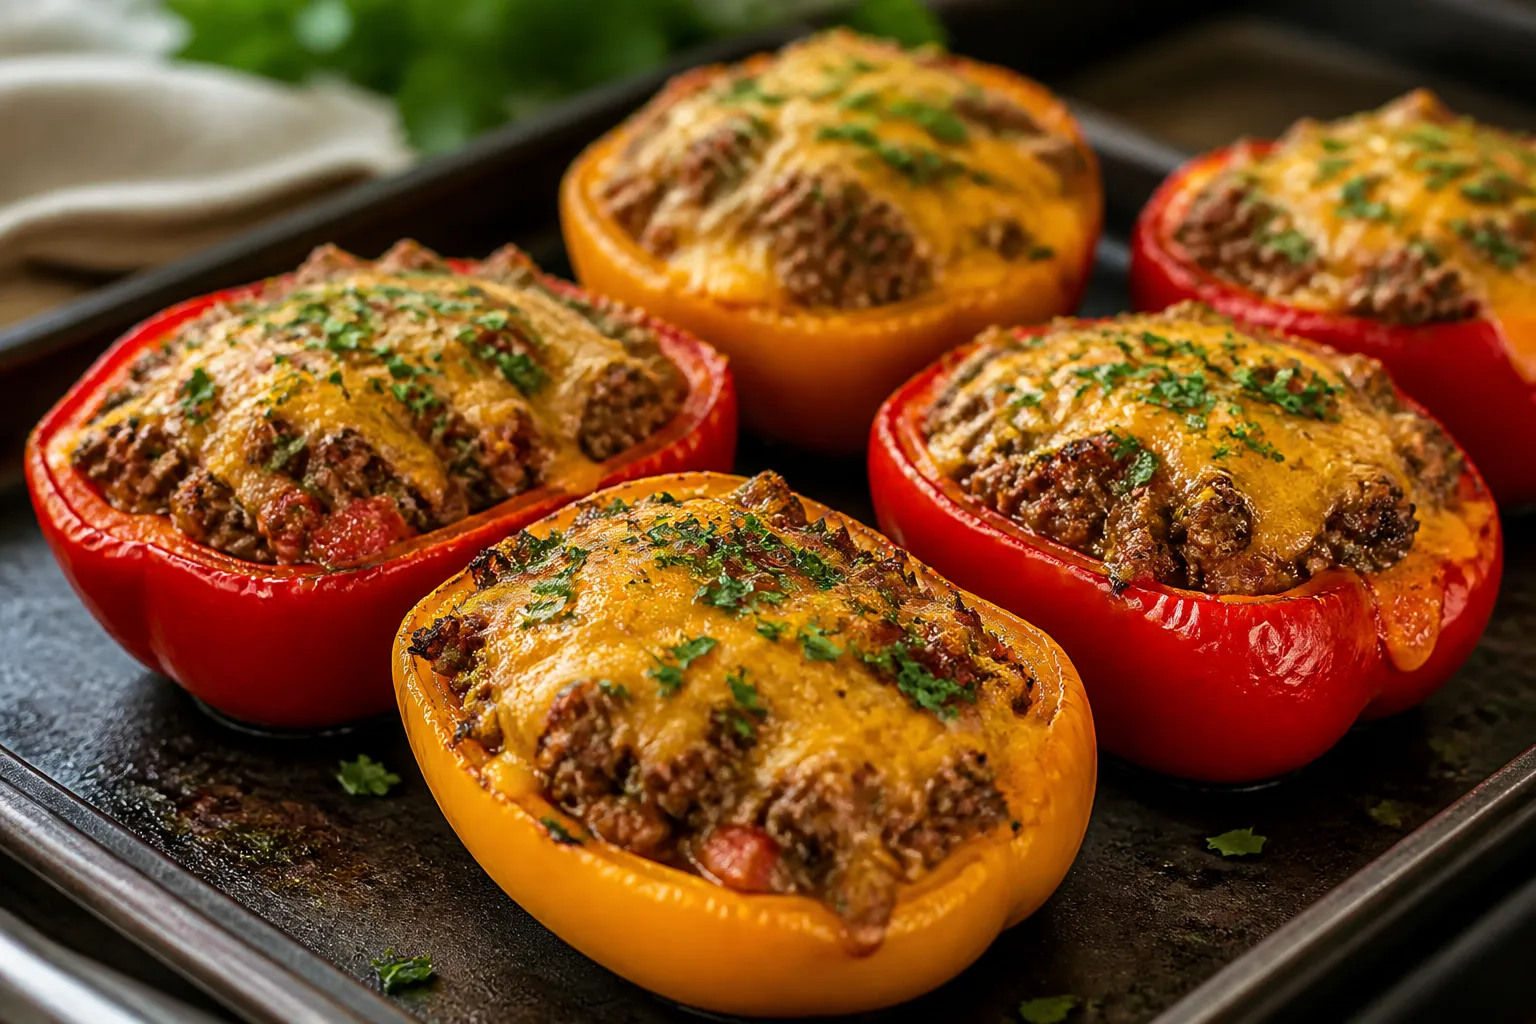
- Fill the peppers. Remove peppers from the oven. Spoon a little special sauce into each pepper half, then mound in the meat mixture.Top with shredded cheddar.
- Bake until melty. Return peppers to the oven, uncovered, for 10–12 minutes, until cheese is bubbling and peppers are tender.
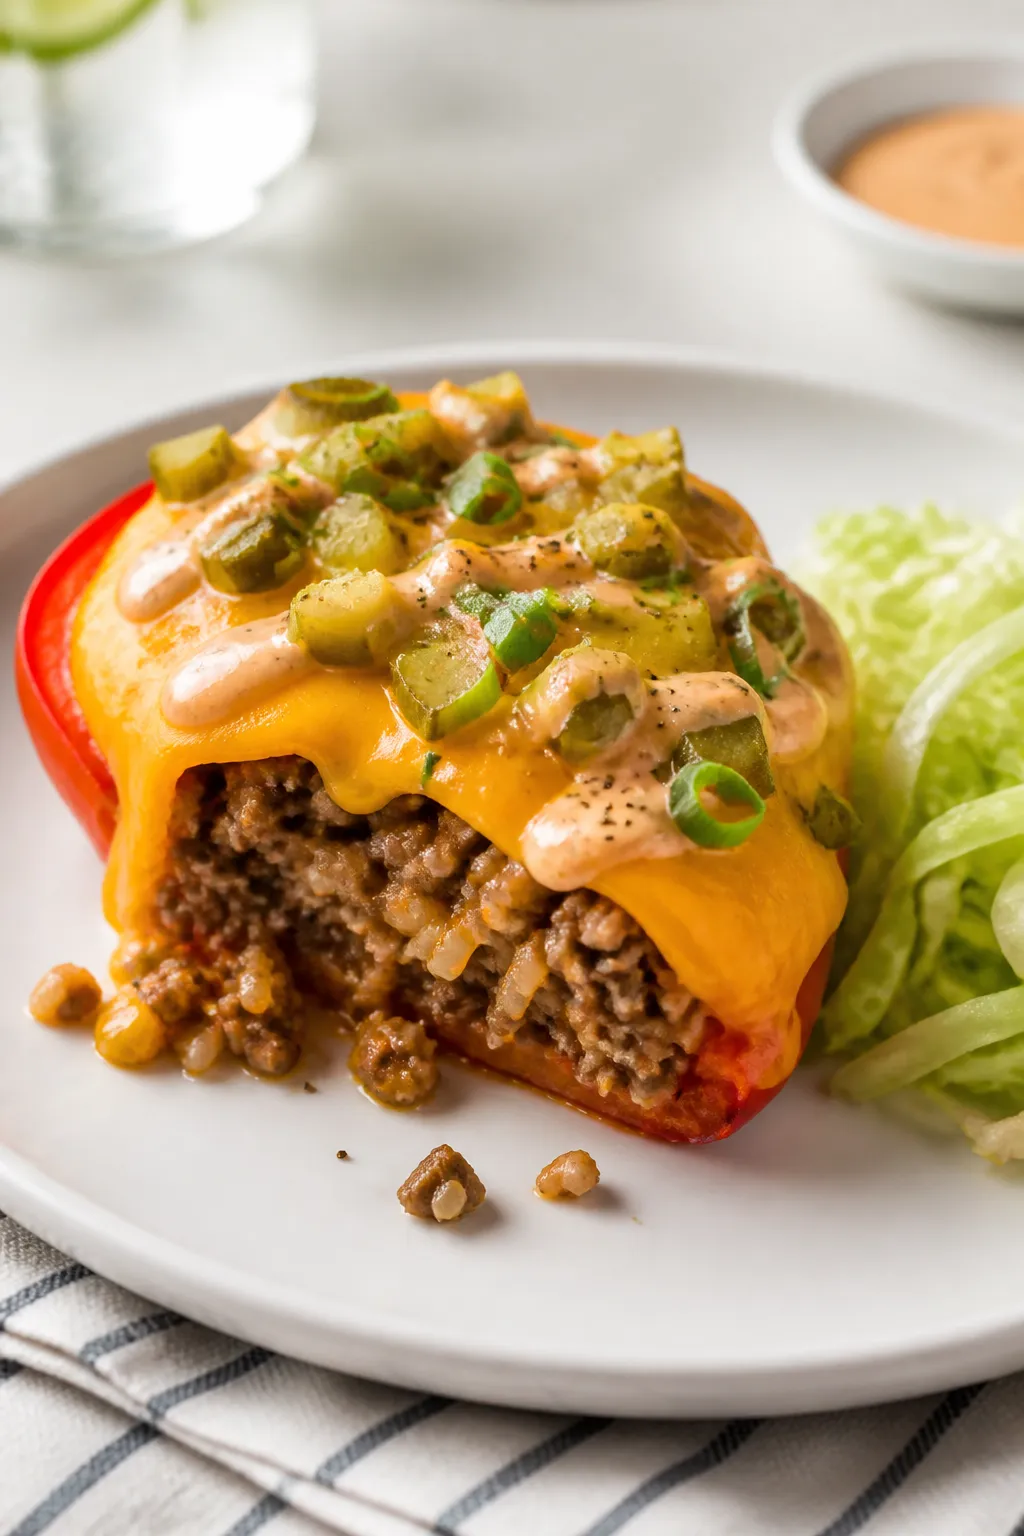
- Finish and serve. Drizzle with more special sauce and add optional toppings like shredded lettuce, extra pickles, scallions, or a sprinkle of sesame seeds. Serve hot.
What Makes This Special
This recipe keeps the spirit of a cheeseburger intact while trimming the extras. You still get that rich, beefy flavor, a creamy “special sauce,” and a melty cheese finish. The difference is in smart swaps: lean ground meat, a veggie base, and a lighter, tangy sauce.
It’s comfort food you can feel good about making on repeat.
What You’ll Need
- Bell peppers (4 large) – Any color, halved lengthwise and seeded.
- Lean ground beef (1 lb/450 g) – Or use ground turkey for an even lighter option.
- Onion (1 small), finely diced
- Garlic (2 cloves), minced
- Diced tomatoes (1 cup) – Fresh or canned, well drained.
- Cooked brown rice or cauliflower rice (1 cup) – Adds body without a bun.
- Worcestershire sauce (1 tablespoon) – Adds classic burger depth.
- Smoked paprika (1 teaspoon)
- Salt and black pepper – To taste.
- Shredded cheddar or reduced-fat cheddar (1 to 1½ cups)
- Plain Greek yogurt (¼ cup) – For a light “special sauce.”
- Ketchup (2 tablespoons)
- Mustard (1 tablespoon) – Yellow or Dijon.
- Pickles (2 tablespoons), finely chopped
- Olive oil (1 tablespoon)
- Optional toppings: shredded lettuce, sliced scallions, extra pickles, sesame seeds.
How to Make It
- Prep the peppers. Heat the oven to 400°F (200°C). Slice peppers in half lengthwise, remove seeds and membranes, and place cut-side up in a baking dish. Brush with olive oil and sprinkle with a pinch of salt.
- Pre-bake the peppers. Pour a splash of water (about ¼ cup) into the baking dish, cover tightly with foil, and bake for 12–15 minutes to soften.
This helps them cook through without getting soggy.
- Brown the meat. While peppers bake, warm a large skillet over medium heat. Add the ground beef, breaking it up as it cooks. Season with salt, pepper, and smoked paprika.
Cook until browned and no longer pink, about 6–8 minutes. Drain excess fat if needed.
- Sauté aromatics. Push beef to one side and add onion to the skillet. Cook 3–4 minutes until softened.
Stir in garlic and cook 30 seconds until fragrant.
- Build the “cheeseburger” filling. Add diced tomatoes, Worcestershire sauce, and cooked brown rice or cauliflower rice. Stir and simmer for 2–3 minutes so flavors come together. Taste and adjust salt and pepper.
- Make the light special sauce. In a small bowl, mix Greek yogurt, ketchup, mustard, and chopped pickles.
Add a pinch of pepper. This gives you that burger-joint vibe without heavy mayo.
- Fill the peppers. Remove peppers from the oven. Spoon a little special sauce into each pepper half, then mound in the meat mixture.
Top with shredded cheddar.
- Bake until melty. Return peppers to the oven, uncovered, for 10–12 minutes, until cheese is bubbling and peppers are tender.
- Finish and serve. Drizzle with more special sauce and add optional toppings like shredded lettuce, extra pickles, scallions, or a sprinkle of sesame seeds. Serve hot.
Storage Instructions
- Refrigerator: Store cooled stuffed peppers in an airtight container for up to 4 days.
- Freezer: Wrap each pepper tightly and freeze for up to 2 months. Thaw overnight in the fridge.
- Reheat: Oven at 350°F (175°C) for 15–20 minutes, or microwave in 60–90 second bursts until heated through.
Add fresh sauce after reheating for best texture.
Benefits of This Recipe
- Lighter than a traditional burger: You get the flavor without the bun and with lean protein and veggies leading the way.
- High in protein and fiber: The beef and rice/cauli-rice combo keeps you full and satisfied.
- Meal prep friendly: Make a batch on Sunday and reheat all week.
- Family-approved: Familiar flavors, easy toppings, and customizable heat and cheese levels.
- Gluten-free option: Naturally gluten-free as written (double-check condiments).
Pitfalls to Watch Out For
- Undercooked peppers: Skipping the pre-bake can leave peppers too firm. Soften them first for the right texture.
- Watery filling: Drain tomatoes well and let the filling simmer briefly so excess moisture cooks off.
- Overcooking the beef: Cook just until browned to keep it tender and juicy.
- Skipping seasoning: Taste the filling before stuffing. A pinch more salt or a dash of Worcestershire can make a big difference.
Variations You Can Try
- Turkey or chicken: Swap the beef for ground turkey or chicken for a leaner version.
- Mushroom boost: Finely chop mushrooms and cook with the onions for extra umami and moisture.
- Spicy kick: Add a minced jalapeño to the skillet or stir in hot sauce to the special sauce.
- Low-dairy or dairy-free: Use dairy-free cheese and swap Greek yogurt for a plant-based alternative.
- Bacon cheeseburger style: Crumble in two slices of cooked turkey bacon for smoky flavor.
- Pickle lovers: Add extra chopped pickles to the filling and as a topping for more zing.
- Whole-grain twist: Use quinoa instead of rice for a nutty bite and extra protein.
FAQ
Stop wondering what's for dinner.
Get 7 healthy, family-friendly dinners complete with recipes and simple meal plans delivered straight to your inbox.
Can I make these ahead?
Yes.
Assemble the peppers up to the cheese step, cover, and refrigerate for up to 24 hours. Bake just before serving, adding 5 extra minutes if starting from cold.
Do I have to use rice?
No. Cauliflower rice works well, or you can skip it entirely for a lower-carb option.
If you skip it, add a few extra diced tomatoes or mushrooms to keep the filling moist.
What color peppers are best?
Red, yellow, and orange are sweeter and great for a cheeseburger vibe. Green peppers are slightly more bitter but still tasty and often cheaper.
Can I make this in an air fryer?
Yes. Air fry halved peppers at 375°F (190°C) for 6–8 minutes to soften.
Fill, top with cheese, and air fry another 6–8 minutes until melty and tender.
How can I lower the sodium?
Use low-sodium ketchup and Worcestershire, and season the beef lightly. Skip added salt on the peppers and lean on herbs, pepper, and paprika for flavor.
What cheese works best?
Cheddar is classic, but Monterey Jack, mozzarella, or a reduced-fat blend melt nicely. Choose a cheese with good melt for that “cheeseburger” pull.
Can I make it vegetarian?
Yes.
Use a plant-based ground or a mix of lentils and finely chopped mushrooms. Keep the same seasonings and sauce for that burger flavor.
Final Thoughts
Healthy Cheeseburger Stuffed Peppers hit the sweet spot between comfort and balance. They’re simple to make, easy to tweak, and full of flavor that satisfies.
Whether you meal prep them for busy nights or serve them fresh with a salad, they deliver that classic cheeseburger taste in a fresher, lighter way. Keep this one in your rotation—you’ll come back to it often.
Printable Recipe Card
Want just the essential recipe details without scrolling through the article? Get our printable recipe card with just the ingredients and instructions.
Loved This Recipe?
If you're looking for more simple, healthy dinners your family will actually eat, grab my FREE 7-Day Easy Dinner Reset. You'll get 7 easy dinner recipes, simple grocery lists, and a done-for-you plan that takes the stress out of mealtime.