Honey Garlic Salmon Meal Prep – Easy, Flavorful, and Ready for the Week
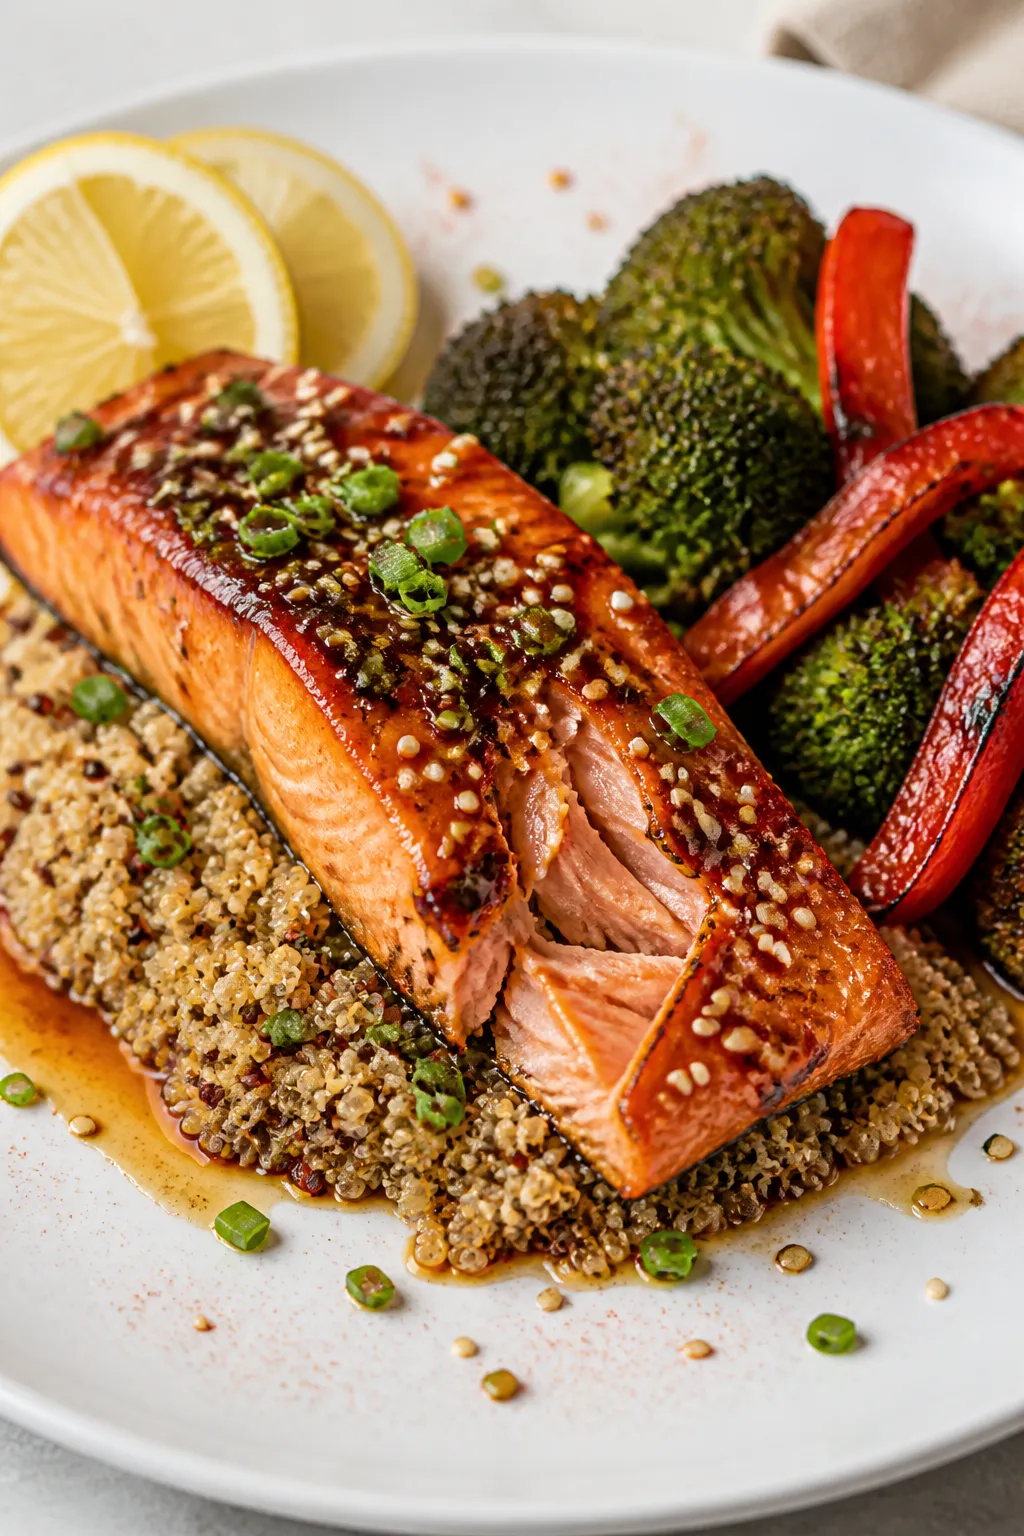
This Honey Garlic Salmon Meal Prep keeps weeknights simple without feeling boring. It’s fast to make, full of bold flavor, and reheats like a dream. You’ll get juicy salmon, sticky-sweet sauce, and crisp-tender veggies all in one balanced box.
FREE 7-Day Easy Dinner Reset
FREE 7-Day Easy Dinner Reset
Whether you’re packing lunches or planning dinners, this recipe brings restaurant-level taste to your fridge. Minimal effort, big payoff.
Honey Garlic Salmon Meal Prep - Easy, Flavorful, and Ready for the Week
Ingredients
Method
- Cook your grain: Make brown rice or quinoa according to package directions. Fluff and set aside.This can be done a day ahead.
- Prep the veggies: Toss broccoli and bell pepper with a drizzle of olive oil, salt, and pepper. Spread on a sheet pan.
- Roast the veggies: Roast at 425°F (220°C) for 12–15 minutes, until crisp-tender with a little char. Pull from the oven and set aside.
- Make the sauce: In a small bowl, whisk honey, soy sauce, vinegar, garlic, ginger, sesame oil, and red pepper flakes.Stir in the cornstarch slurry and set aside.
- Season the salmon: Pat salmon dry. Rub with 1 tablespoon olive oil, then season with salt, pepper, and smoked paprika.
- Cook the salmon: Heat a large nonstick skillet over medium-high. Place salmon skin-side down and sear 3–4 minutes, then flip and cook another 2–3 minutes, until nearly cooked through.
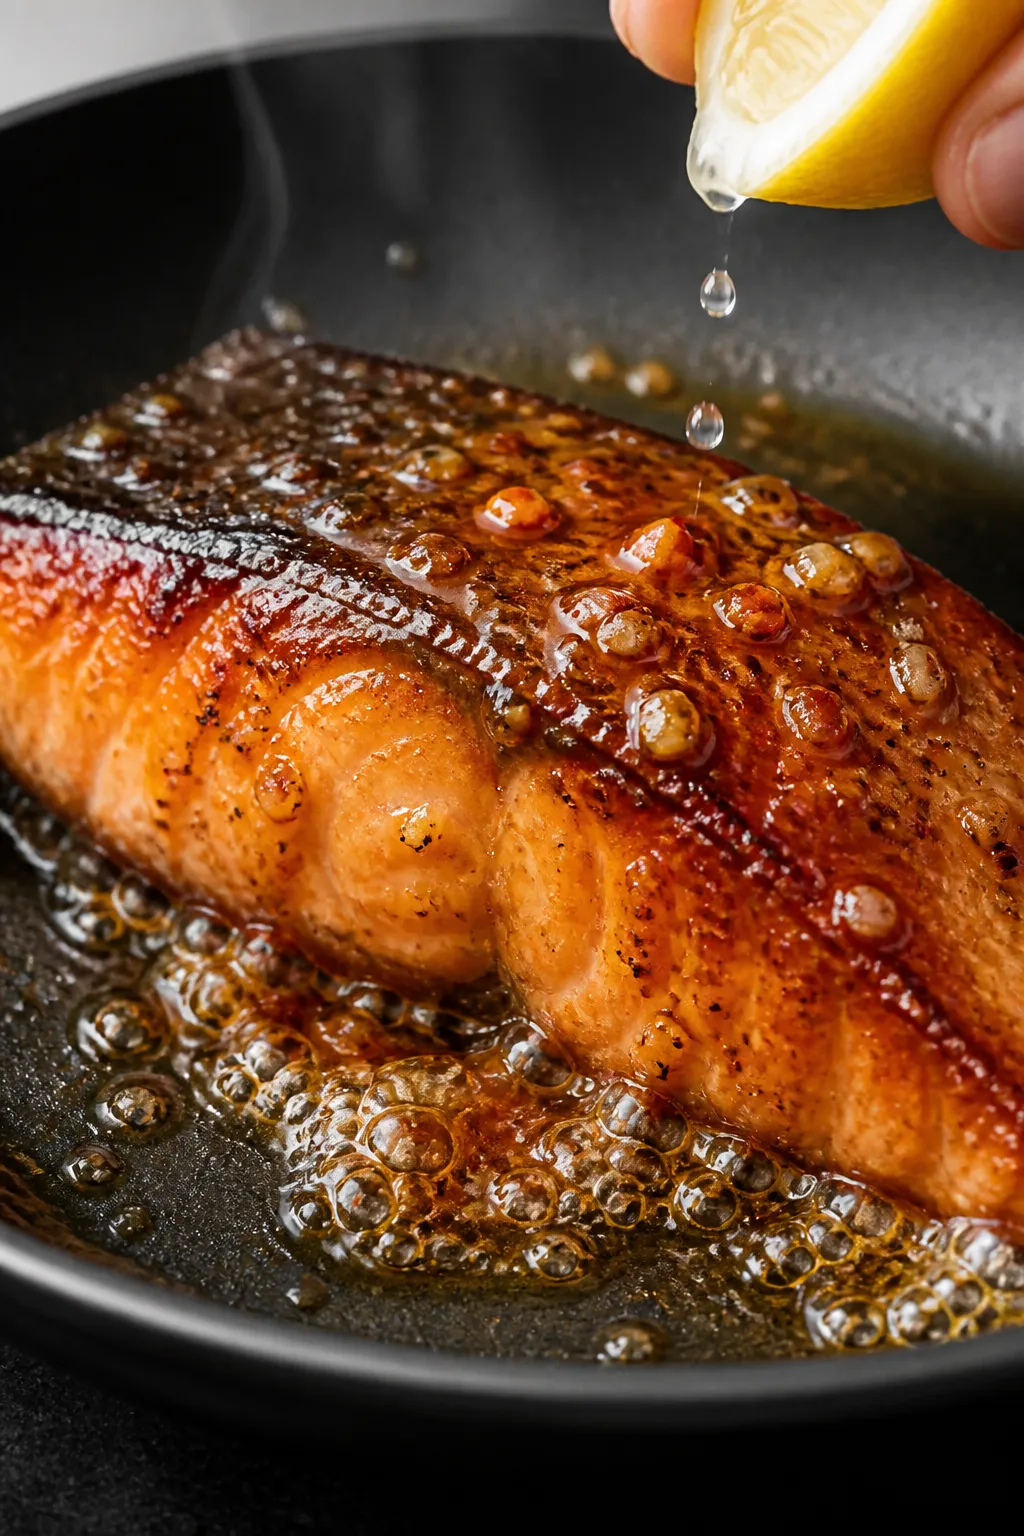
- Glaze it: Reduce heat to medium-low.Pour the sauce into the pan around the salmon. Let it bubble and thicken, spooning over the fish for 1–2 minutes until glossy. Remove from heat.Squeeze a little lemon on top.
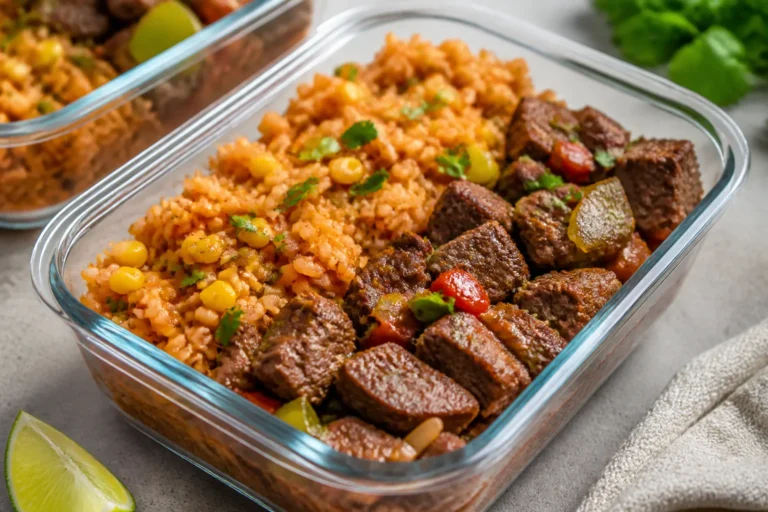
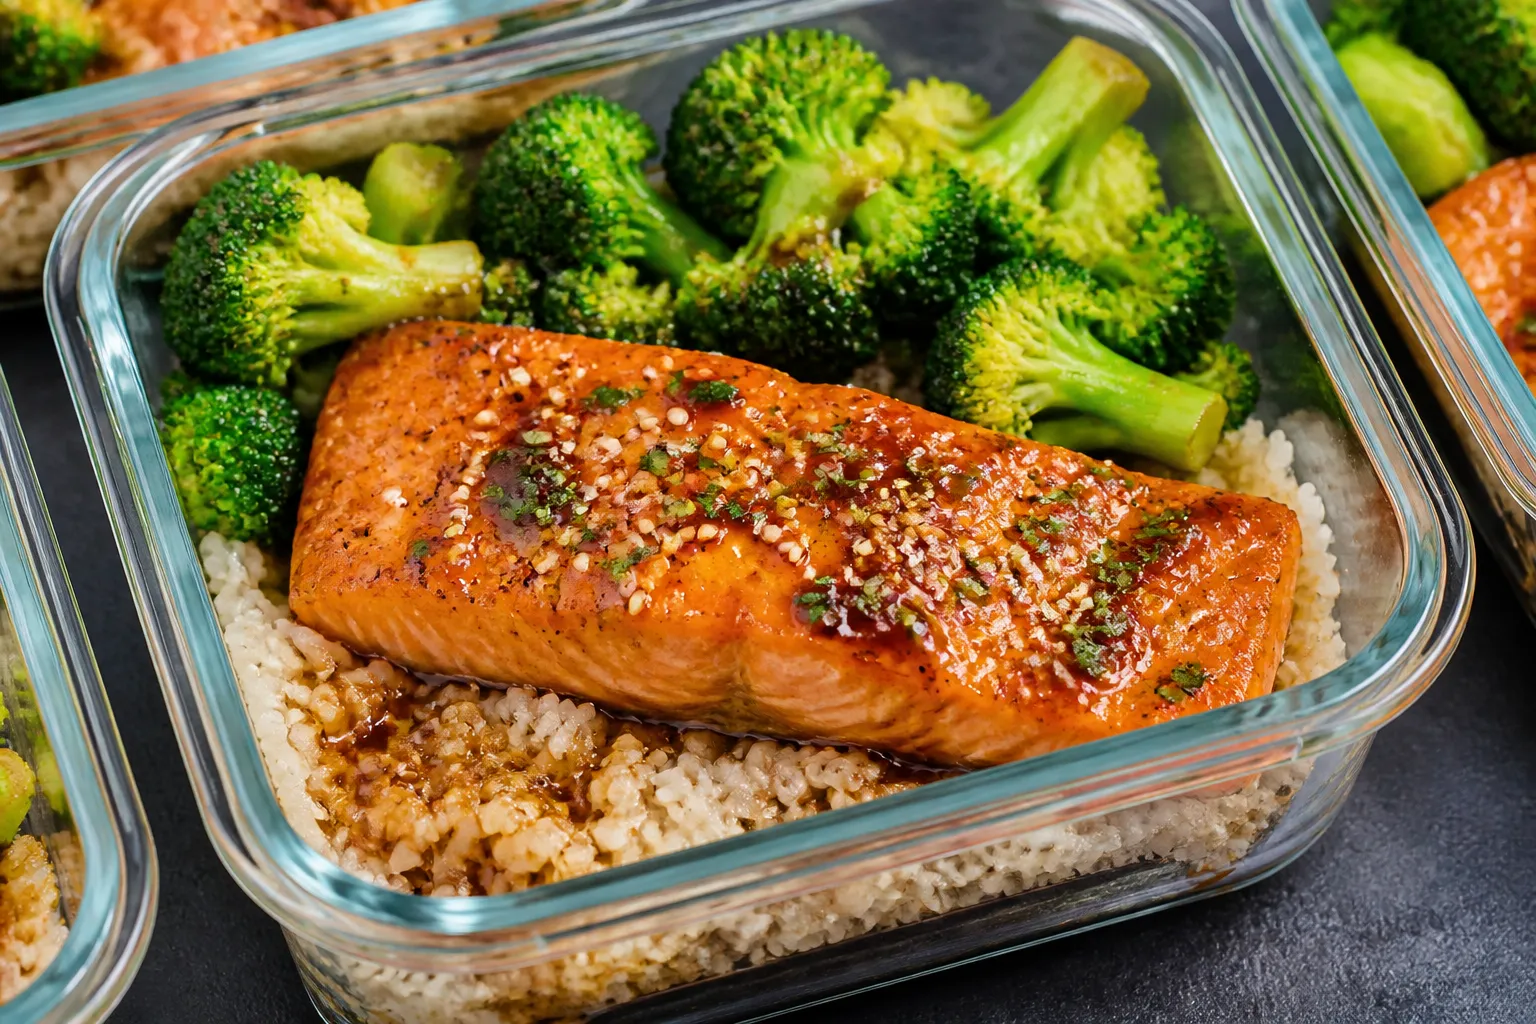
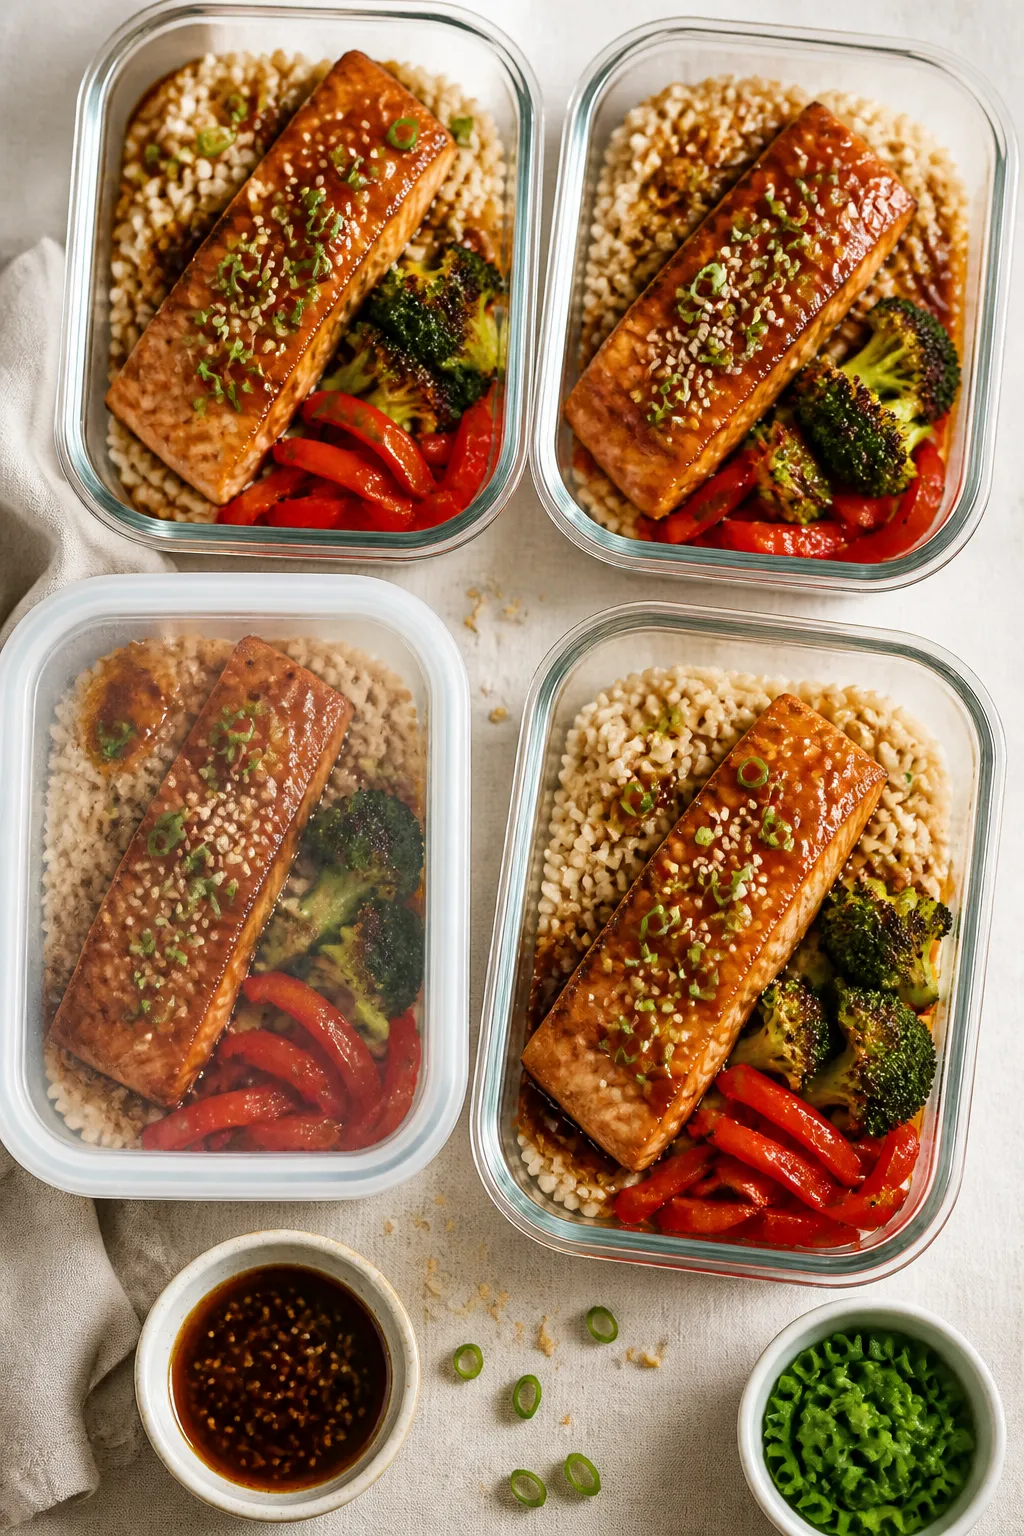
- Assemble meals: Divide rice or quinoa into 4 meal-prep containers. Add roasted veggies. Top each with a salmon fillet and spoon extra sauce over everything.
- Garnish and cool: Sprinkle with sesame seeds and green onions.Let containers cool uncovered for 15–20 minutes before sealing.
- Store: Seal and refrigerate up to 4 days. Reheat gently when ready to eat.
What Makes This Special
- Big flavor, small effort: A short ingredient list creates a glossy, garlicky glaze that tastes like takeout but cooks in minutes.
- Meal-prep friendly: Salmon stays tender when stored and reheated properly, and the sauce keeps everything moist.
- Balanced meal: Protein, fiber, healthy fats, and complex carbs—no need to build sides from scratch.
- Customizable: Swap veggies, grains, or even the protein based on what you have.
- Weeknight-proof: Done in about 30 minutes, with almost no babysitting.
Ingredients
- 1.5 to 2 pounds salmon fillets, skin-on, cut into 4 portions
- 1 tablespoon olive oil (plus extra for veggies)
- Salt and black pepper, to taste
- 1/2 teaspoon smoked paprika (optional, for a subtle kick)
- 3–4 cups broccoli florets (or green beans)
- 1 red bell pepper, sliced
- 2 cups cooked brown rice or quinoa (about 1 cup uncooked)
Honey Garlic Sauce:
- 1/3 cup honey
- 3 tablespoons low-sodium soy sauce (or tamari for gluten-free)
- 1 tablespoon rice vinegar or apple cider vinegar
- 4 cloves garlic, minced
- 1 teaspoon grated fresh ginger (optional but great)
- 1 teaspoon cornstarch mixed with 1 teaspoon cold water (slurry)
- 1 teaspoon sesame oil (optional, for depth)
- Red pepper flakes, to taste (optional)
To Finish:
- Lemon wedges
- Sesame seeds and sliced green onions
Instructions
- Cook your grain: Make brown rice or quinoa according to package directions. Fluff and set aside.
This can be done a day ahead.
- Prep the veggies: Toss broccoli and bell pepper with a drizzle of olive oil, salt, and pepper. Spread on a sheet pan.
- Roast the veggies: Roast at 425°F (220°C) for 12–15 minutes, until crisp-tender with a little char. Pull from the oven and set aside.
- Make the sauce: In a small bowl, whisk honey, soy sauce, vinegar, garlic, ginger, sesame oil, and red pepper flakes.
Stir in the cornstarch slurry and set aside.
- Season the salmon: Pat salmon dry. Rub with 1 tablespoon olive oil, then season with salt, pepper, and smoked paprika.
- Cook the salmon: Heat a large nonstick skillet over medium-high. Place salmon skin-side down and sear 3–4 minutes, then flip and cook another 2–3 minutes, until nearly cooked through.
- Glaze it: Reduce heat to medium-low.
Pour the sauce into the pan around the salmon. Let it bubble and thicken, spooning over the fish for 1–2 minutes until glossy. Remove from heat.
Squeeze a little lemon on top.
- Assemble meals: Divide rice or quinoa into 4 meal-prep containers. Add roasted veggies. Top each with a salmon fillet and spoon extra sauce over everything.
- Garnish and cool: Sprinkle with sesame seeds and green onions.
Let containers cool uncovered for 15–20 minutes before sealing.
- Store: Seal and refrigerate up to 4 days. Reheat gently when ready to eat.
Keeping It Fresh
- Cool before sealing: Trapping steam makes condensation and soggy food. A short cool-down protects texture.
- Sauce smart: A little extra glaze on the rice keeps it from drying out in the fridge.
Don’t drown it—1 to 2 tablespoons per box is enough.
- Reheat gently: Microwave at 60–70% power for 60–90 seconds, just until warm. Overheating dries salmon fast.
- Use divided containers: If you like crisp veggies, keep them separate from the rice so steam doesn’t soften everything.
- Freeze? Salmon freezes, but texture softens after thawing. If freezing, wrap the fish separately and thaw overnight in the fridge.
Reheat low and slow.
Why This is Good for You
- Heart-healthy fats: Salmon delivers omega-3s that support brain and heart health.
- Balanced macros: Protein from fish, complex carbs from rice or quinoa, and fiber-rich veggies keep you full and energized.
- Smart sodium: Using low-sodium soy sauce gives you control without losing savoriness.
- Nutrient-dense veggies: Broccoli and peppers add vitamin C, K, and antioxidants that pair well with the healthy fats.
Common Mistakes to Avoid
- Overcooking the salmon: Pull it when the center is just slightly translucent. It will finish with carryover heat.
- Adding sauce too early: If you simmer the salmon in sauce from the start, the glaze won’t reduce properly and the fish can overcook.
- Skipping the pat-dry step: Wet salmon won’t sear well. Dry fillets brown better and stay juicy.
- Storing while hot: Sealing hot meals leads to watery sauce and wilted veggies.
- Microwaving on full power: High power zaps moisture.
Medium power warms evenly and preserves texture.
Alternatives
Stop wondering what's for dinner.
Get 7 healthy, family-friendly dinners complete with recipes and simple meal plans delivered straight to your inbox.
- Protein swaps: Use chicken thighs (pan-sear then simmer in sauce until 165°F), shrimp (cook 1–2 minutes per side), or tofu (press, cube, pan-crisp, then glaze).
- Grain base: Jasmine rice, cauliflower rice, farro, or soba noodles work. Choose what reheats well for you.
- Veggie mix-ins: Try snap peas, carrots, zucchini, or roasted Brussels sprouts. Keep them crisp to survive reheating.
- Gluten-free: Use tamari or coconut aminos.
Check labels on vinegar and cornstarch if needed.
- No added sugar version: Swap honey for a reduced amount of pure maple syrup, or try a date syrup. Keep in mind the glaze may be less sticky.
- Air fryer route: Air-fry salmon at 390°F (200°C) for 7–9 minutes, then brush with simmered sauce. Great for crisp edges.
FAQ
Can I use frozen salmon?
Yes.
Thaw it overnight in the fridge, then pat very dry before cooking. Frozen fillets release more moisture, so drying is key for a good sear.
How do I know when salmon is done?
Look for flakes that separate easily and a center that’s just turning opaque. An instant-read thermometer should read about 125–130°F for medium.
Will the sauce be too sweet?
It’s balanced by soy, garlic, and vinegar.
If you prefer less sweetness, reduce the honey to 1/4 cup and add a squeeze more lemon at the end.
What if I don’t have cornstarch?
Use arrowroot starch or a small pat of butter to finish the glaze. With arrowroot, simmer gently and don’t overcook to avoid thinning.
How long does this keep?
Up to 4 days in the fridge. For best texture, eat within 3 days.
Reheat gently to maintain moisture.
Can I make it spicy?
Absolutely. Add red pepper flakes to the sauce or drizzle sriracha over the finished bowls. A little goes a long way.
Is skin-on or skinless better?
Skin-on works best for pan-searing and helps protect the fish from overcooking.
You can peel it off after cooking if you prefer.
Wrapping Up
Honey Garlic Salmon Meal Prep is the kind of recipe that makes busy weeks feel easy. It’s fast, flexible, and satisfying, with a sauce you’ll want to put on everything. Cook once, pack it up, and enjoy a polished, wholesome meal whenever you need it.
Simple steps, clean flavors, and reliable results—exactly what meal prep should be.
Printable Recipe Card
Want just the essential recipe details without scrolling through the article? Get our printable recipe card with just the ingredients and instructions.
Loved This Recipe?
If you're looking for more simple, healthy dinners your family will actually eat, grab my FREE 7-Day Easy Dinner Reset. You'll get 7 easy dinner recipes, simple grocery lists, and a done-for-you plan that takes the stress out of mealtime.